
 KØB NU OG FÅ FRI FRAGT
Ved køb over 500,- (gælder kun DK)
KØB NU OG FÅ FRI FRAGT
Ved køb over 500,- (gælder kun DK)
 1-2 LEVERINGS-DAGE
Bestil før kl. 12 og vi sender samme hverdag
1-2 LEVERINGS-DAGE
Bestil før kl. 12 og vi sender samme hverdag
 14 DAGES RETURRET


No expert reviews available
Regular price
219,88 DKK
Regular price
219,88 DKK
Sale price
219,88 DKK
Unit price
per
Tax included.
Shipping calculated at checkout.
10+ in stock - 1-2 weekdays
Couldn't load pickup availability

🚚Fri fragt ved ordrer over 500,- i DK
👍Sendes fra Taastrup DK
🛡️1 års garanti
🛠️Lokalt servicecenter
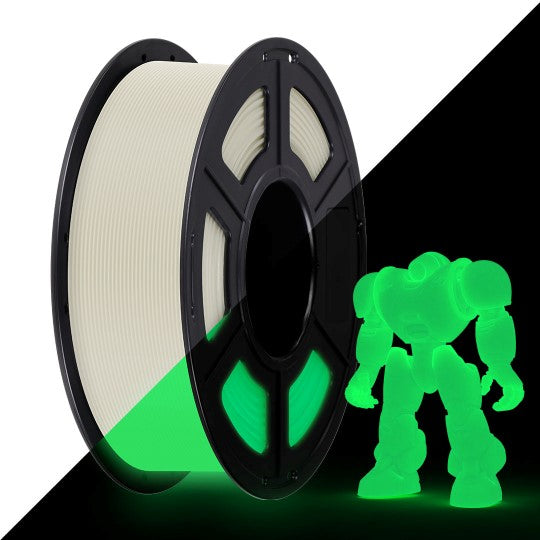
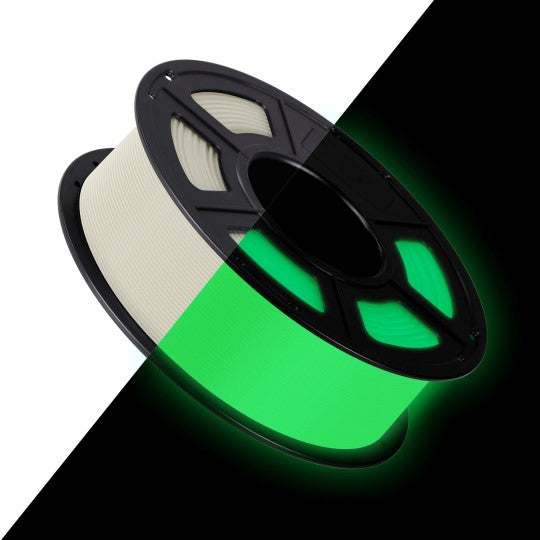

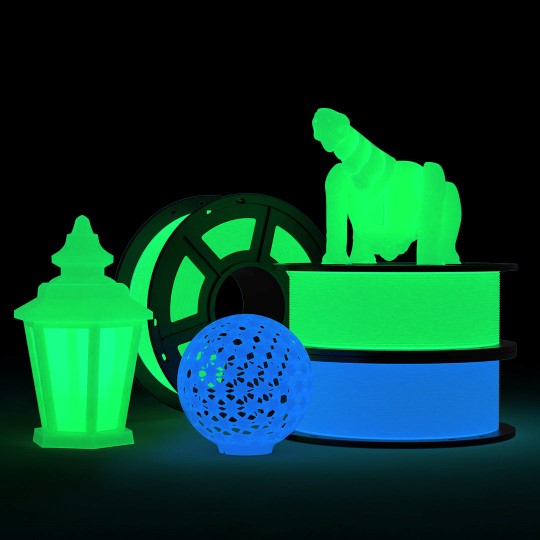
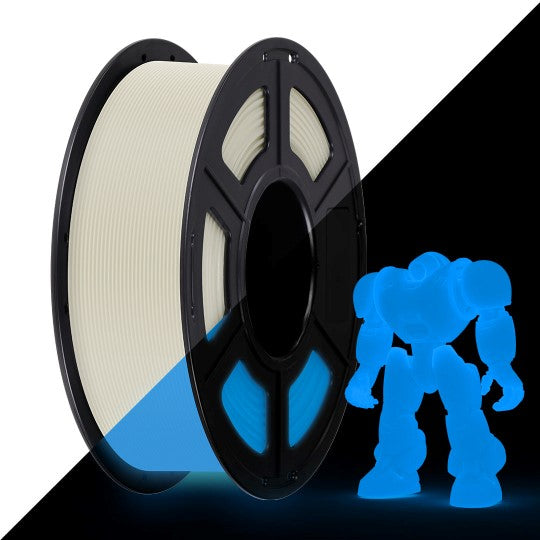
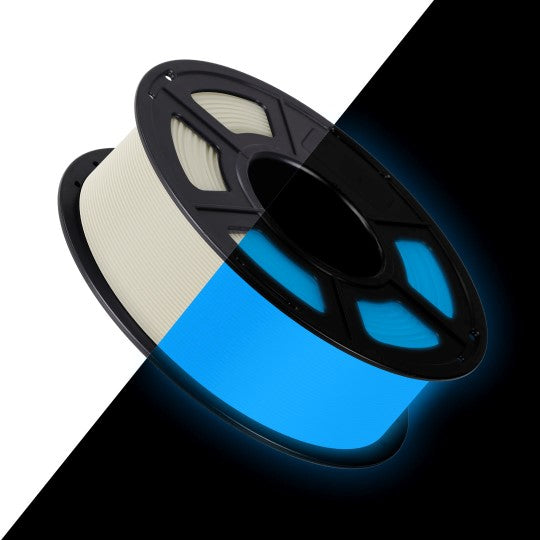


Anycubic PLA Glow
Sådan installeres filamentet
- Installer spolen på spoleholderen på en 3D-printer, og forvarm mundstykket.
- Skær toppen af filamentet i en spirform, og træd det ind i ekstruderen og føderøret.
- Skub filamentet manuelt gennem føderøret til dysen, indtil filamentet smelter gennem dysen.
Der er brug for ekstra opmærksomhed
Når du installerer og udskifter filamenter, skal du sørge for at opvarme printhovedet (opvarmet til over 230°C), ellers kan printhovedet blive tilstoppet.
KØB NU OG FÅ FRI FRAGT
Ved køb over 500,- (gælder kun DK)
1-2 LEVERINGS-DAGE
Bestil før kl. 12 og vi sender samme hverdag
14 DAGES RETURRET